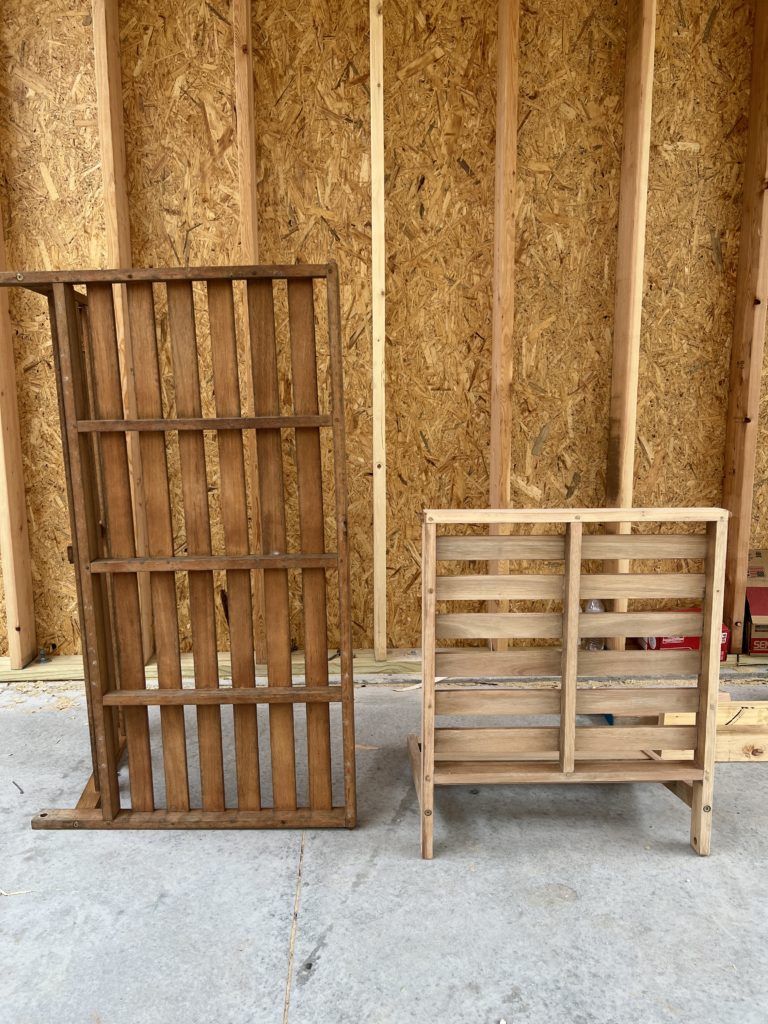
I’ll be honest, I had full intentions of throwing our outdoor furniture set away. I purchased a Teak wood patio set (two chairs, a loveseat and a coffee table) about four years ago. The first two-ish years everything was stored inside, then the remaining two years I only stored the cushions inside. To put it mildly, the teak furniture was neglected and in rough shape.
My husband and I moved everything off the deck and into the driveway, with the thought that we would put everything out on the curb and see if anyone picked it up before the garbage came. The more I thought about it though, the more I realized that probably wasn’t the smartest decision. I preach about being eco-friendly, but throwing away this furniture would definitely be the opposite of helping the earth. Plus, what is a little elbow grease?! Furniture prices have gone up so much in the past year too, that we couldn’t justify spending more money on something that we technically already owned. So, we decided to rehab this furniture!
The full restoration process was fairly simple, but it was tedious. It’s definitely not a project to finish in a day, and even a weekend might be stretching it. This took us two weeks of intermittently working on it, and waiting out a few rainstorms.

Step One.
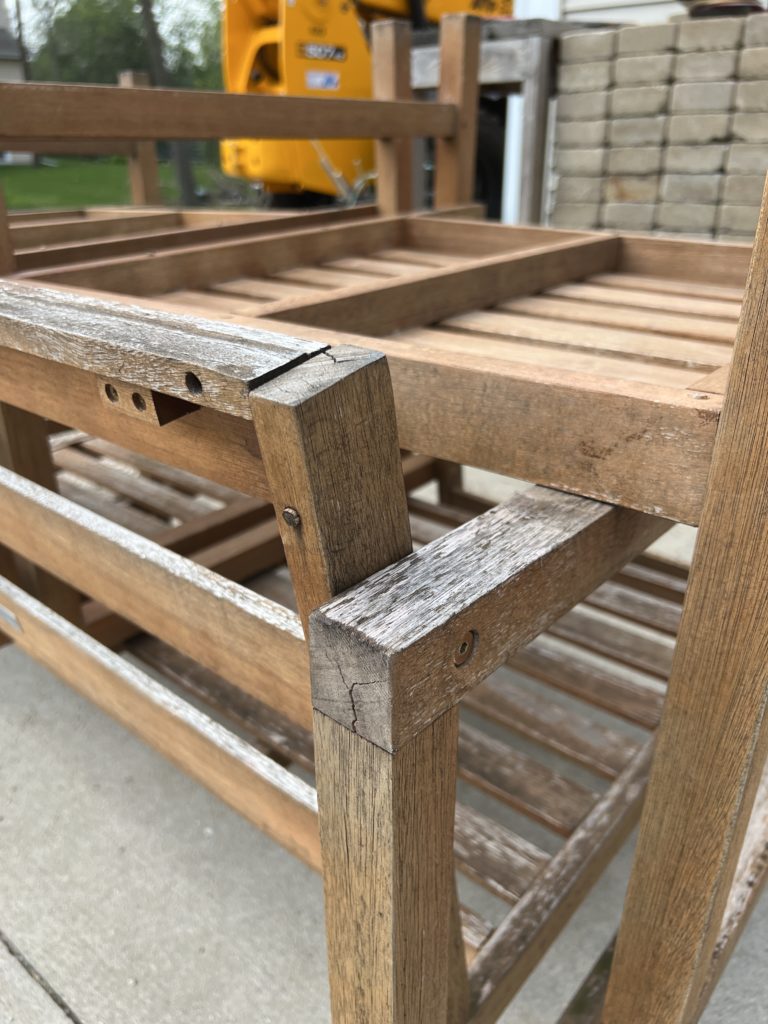
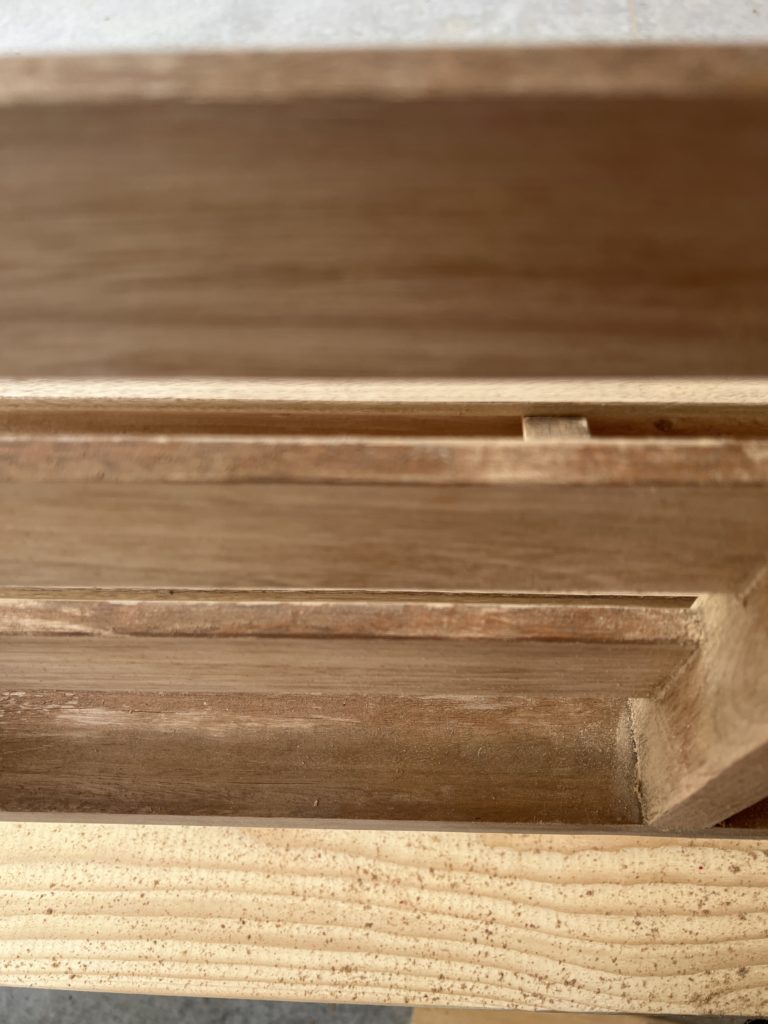
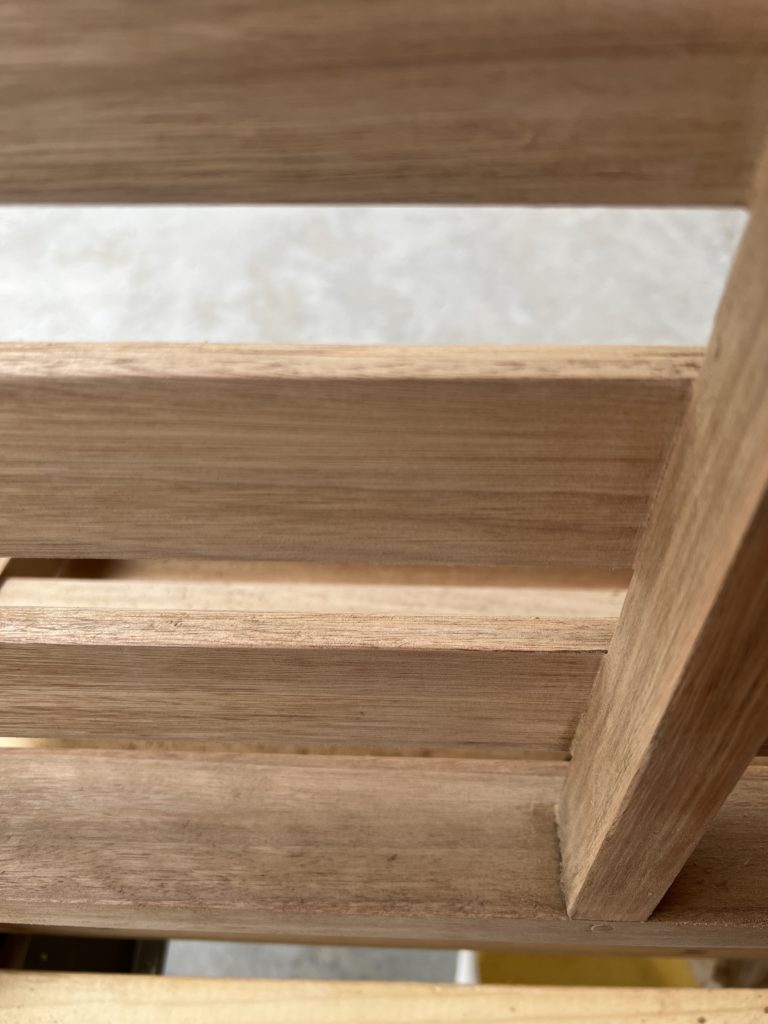
We disassembled all of the furniture. This was so that we could sand each piece a little easier and much more thoroughly. The original finish had an orange hue to it, which needed to be sanded a bit more because of that. There is absolutely nothing wrong with that particular stain and finish, but it wasn’t our personal preference. We opted (in a later step) to oil the furniture instead of staining the wood, so fully removing all leftover stain was essential.
Step Two.
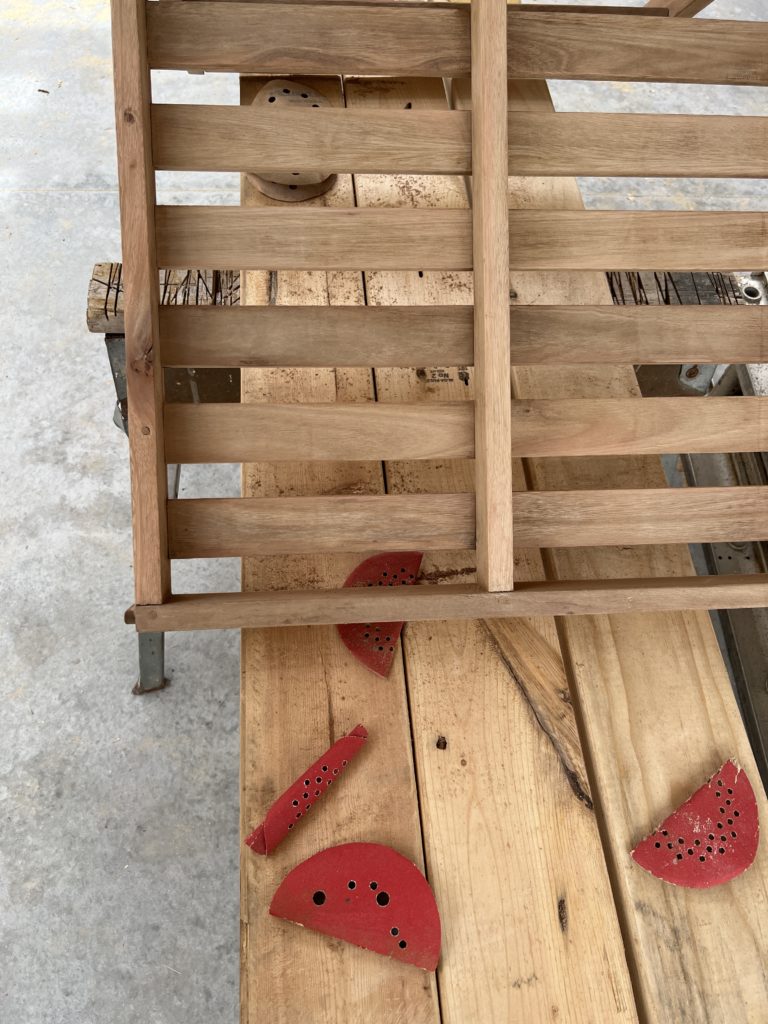
Sand! We sanded everything we possibly could with an orbital sander using 220 grit sandpaper, then finished everything else the sander couldn’t reach by hand. Which was a lot. Also, Wear a mask!! It is not healthy to breathe in all of that sawdust and remaining finish, so my husband and I each wore an N95 mask.
The little grooves and areas in-between each slat were not fun, but it was very rewarding to see all of the previous stain sanded away. Due to our negligence, the wood had also cracked and gotten very rough over the years. This extra work really paid off to give each piece a fresh, new start. I will say, hand sanding definitely took the longest out of each step…but worth it!
Step Three.
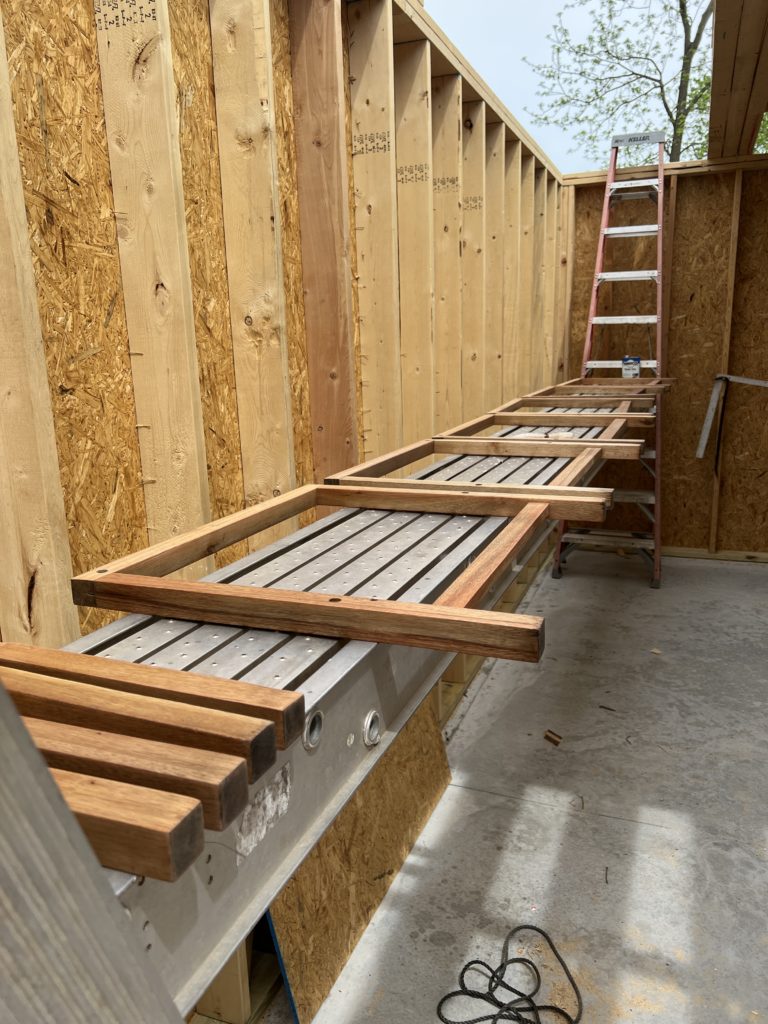
We used Watco Teak Oil and an old rag to apply the oil in an even coat everywhere. Be sure to put on disposable gloves first, and do this in a well-ventilated area. The product smells like a varnish/stain, so it was fairly potent even being outdoors. The oil soaked in a lot, so the first coat we put on fairly liberally. Once the first coat was dry (we let it dry overnight) we applied the second and final coat.
Step Four.
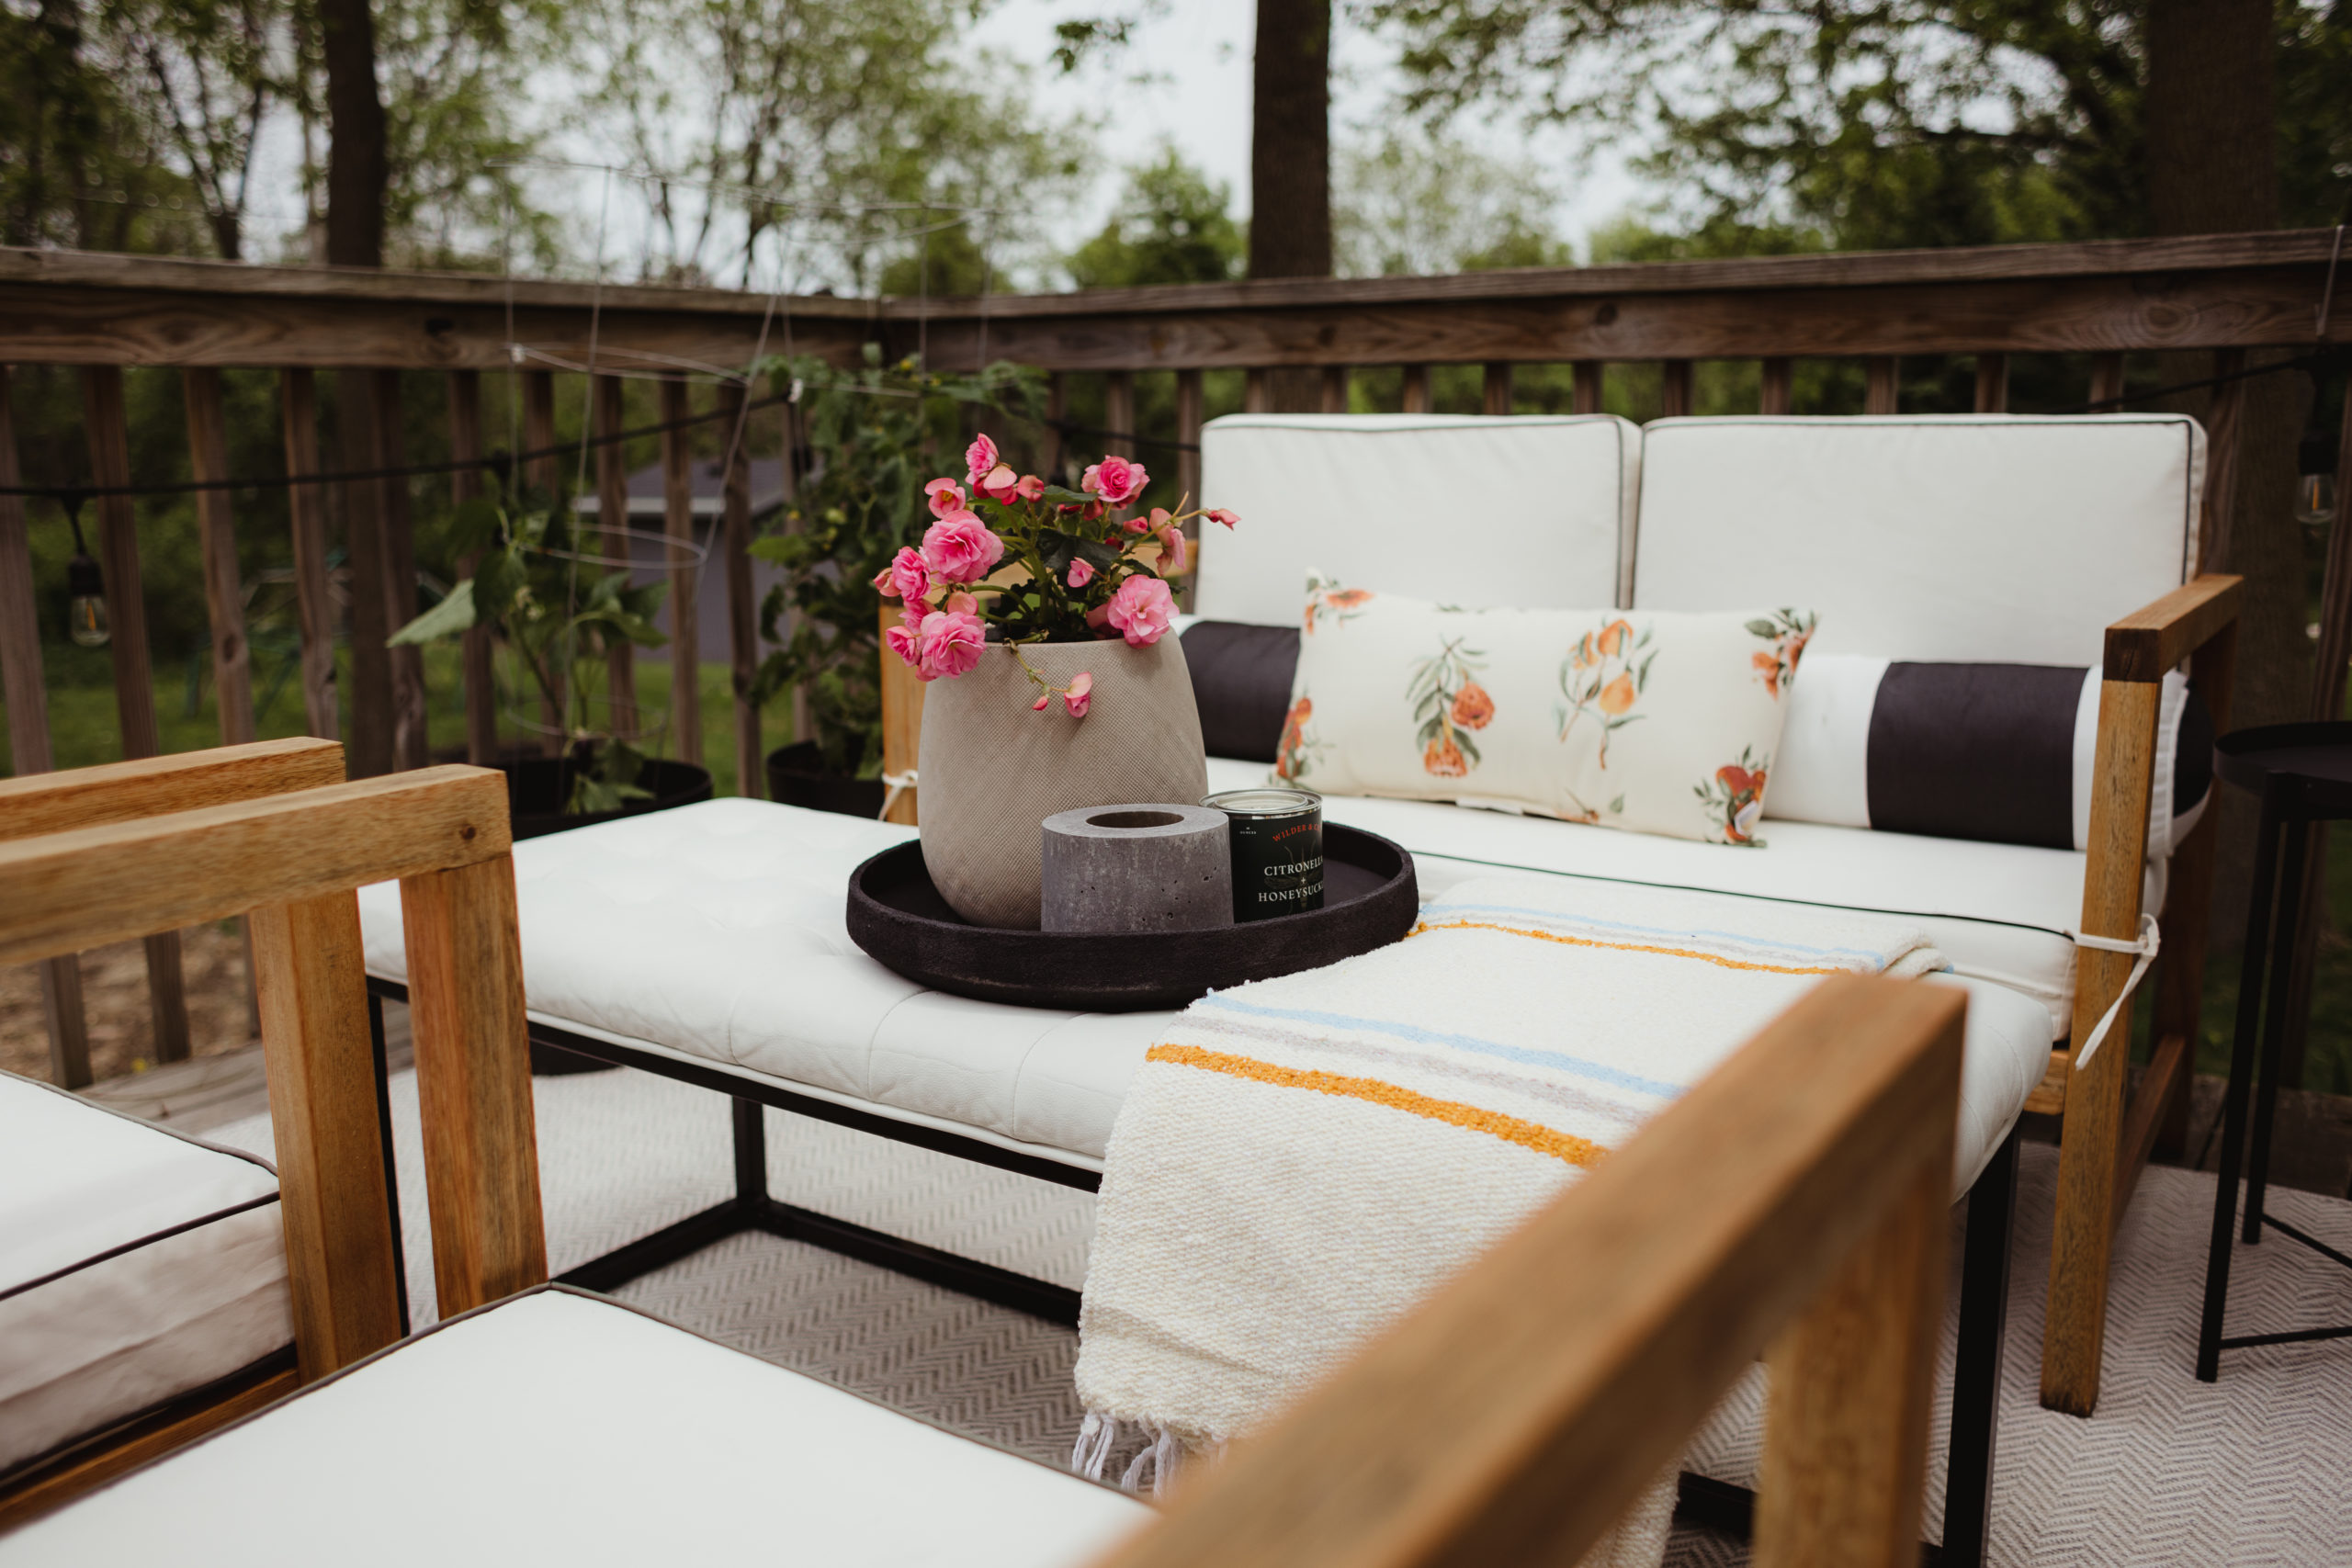
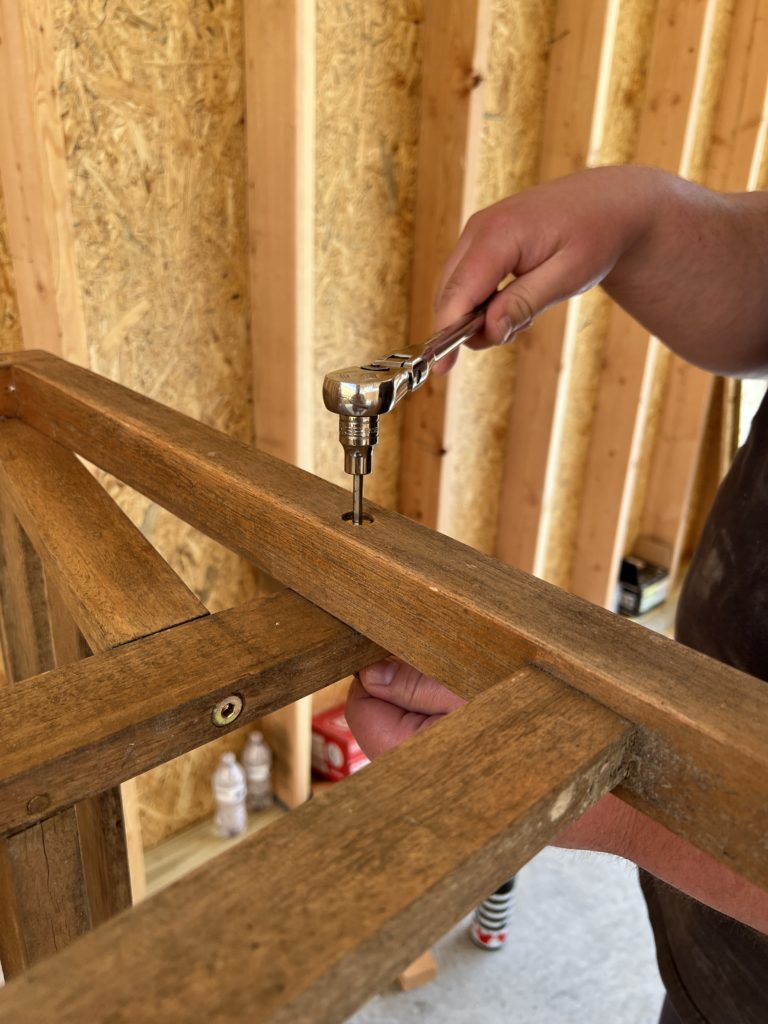
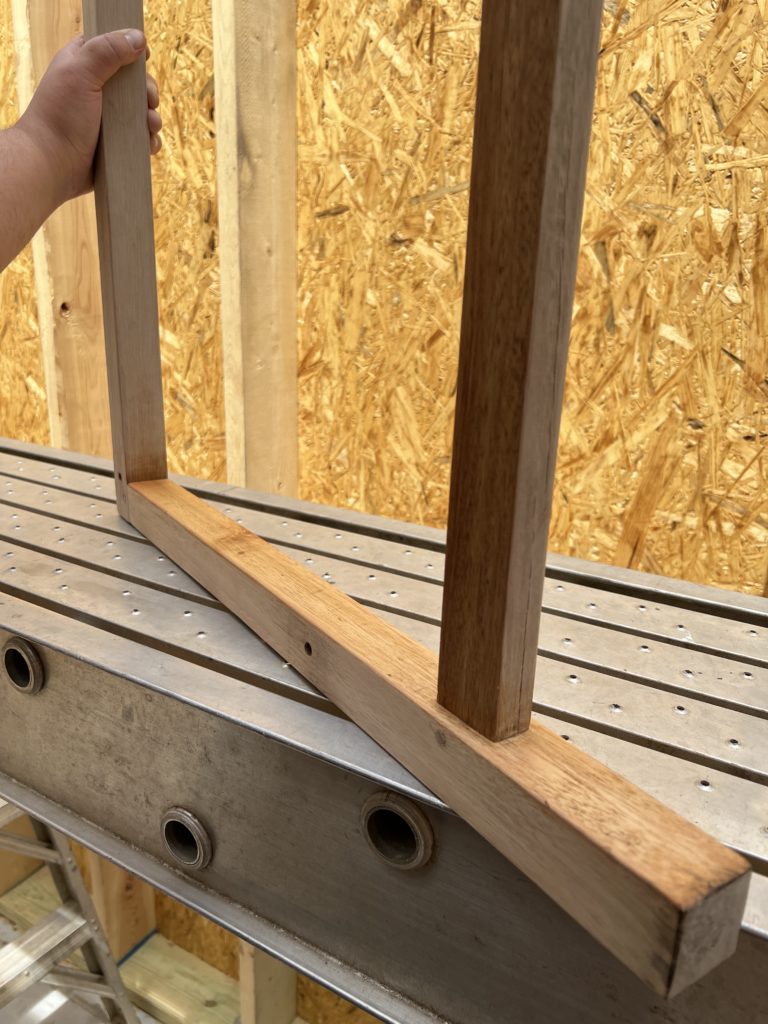
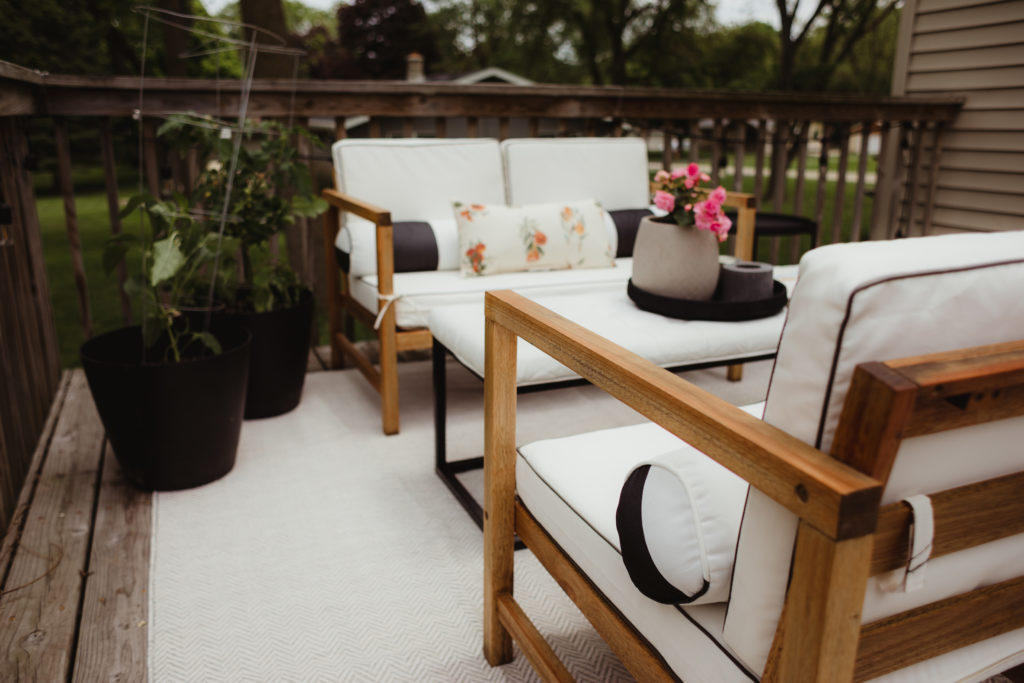
Assembly!! My husband screwed everything back together (with the exception of the coffee table because we lost the screws and need to purchase replacements), and we moved it all back to the deck!


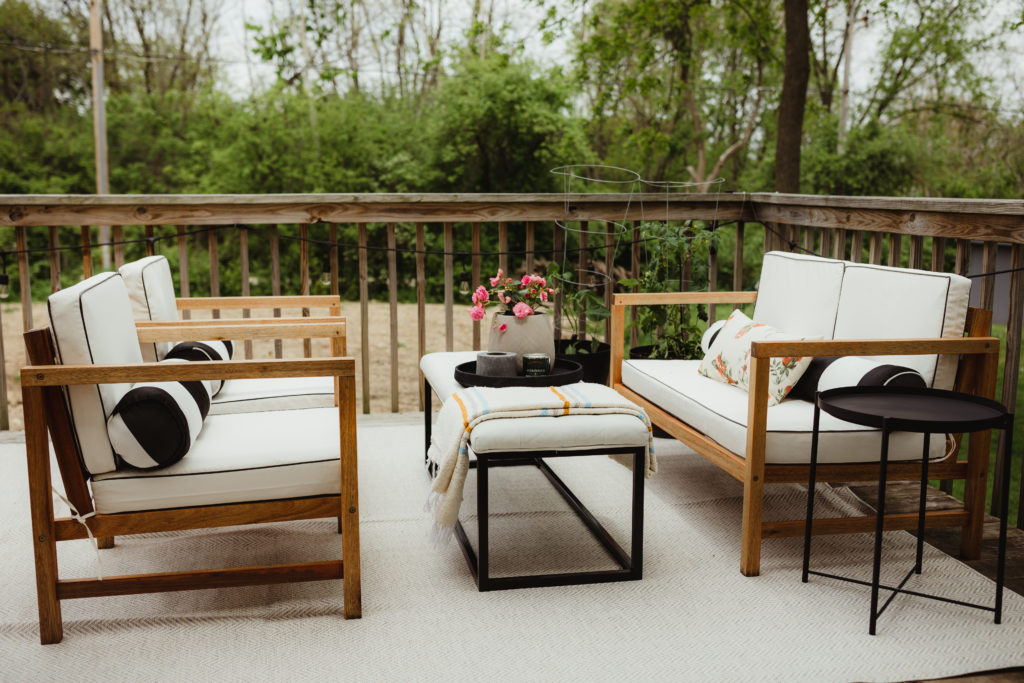
Overall, I would highly recommend oiling your teak furniture every year. We should have done this from the start, but this was a huge lesson learned for the future. It was a fairly simple project, just tedious to make sure everything was done correctly.
We were fortunate to have most products on hand at home, but here is a breakdown of our material list in case you need to do a similar project.
Materials:
N95 Mask
Rags
Screwdriver

")

you said: